Cursor Madrid
Hackathon 3
LibreYOLO Track

Welcome, hackers. Read what LibreYOLO is, follow the setup tutorial, copy the example, and start building.
What is LibreYOLO
LibreYOLO is a modern, 100% MIT-licensed engine for training and deploying state-of-the-art object detection. It exists to make YOLO accessible again, the way its creators always intended.
Setup tutorial
Paste the prompt below into Cursor. It walks the agent through installing LibreYOLO from source and verifying the install. Works on Windows, macOS, and Linux.
# Install LibreYOLO (Cursor Hackathon, LibreYOLO Track)
#
# Your job: get LibreYOLO installed from source on the user's machine and
# verify it imports. The user is on Windows, macOS, or Linux. Adapt the
# venv activation line to match. Everything else is identical across OSes.
#
# Prereqs the user must already have:
#   - Python 3.10 or newer  (check: python --version  or  python3 --version)
#   - git
# If either is missing, stop and tell the user. Do not silently install.
#
# If LibreYOLO is already installed and importable in the current environment,
# skip the install steps and jump straight to VERIFY.

# 1. Clone the dev branch (we will move to main later)
git clone -b dev https://github.com/LibreYOLO/libreyolo.git
cd libreyolo

# 2. Create a virtual environment (stdlib only, no extra tools required)
python -m venv .venv

# 3. Activate it
# macOS / Linux:
source .venv/bin/activate
# Windows PowerShell (run instead of the line above):
# .venv\Scripts\Activate.ps1
# Windows cmd.exe:
# .venv\Scripts\activate.bat

# 4. Upgrade pip (avoids resolver bugs on older Python installs)
python -m pip install --upgrade pip

# 5. Install LibreYOLO in editable mode
pip install -e .

# 6. VERIFY (should print: LibreYOLO ready)
python -c "from libreyolo import LibreYOLO; print('LibreYOLO ready')"

# OPTIONAL: smoke test on a real image (downloads small weights on first run)
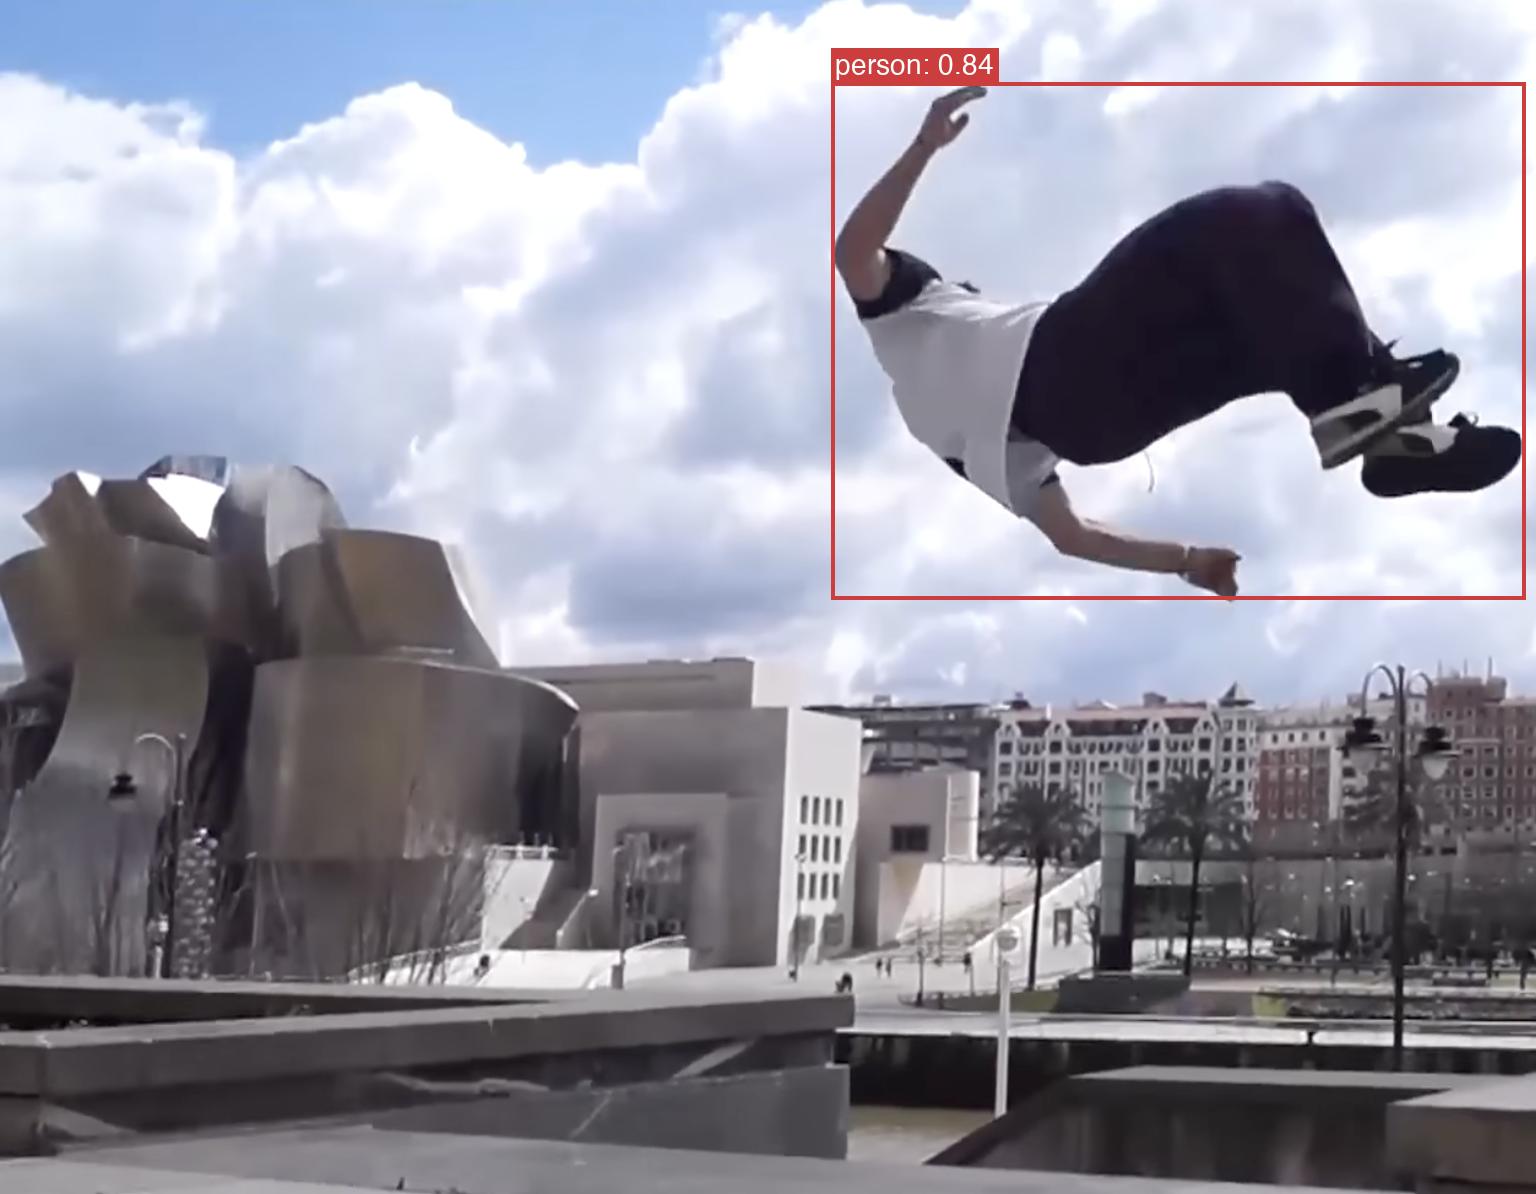
python -c "from libreyolo import LibreYOLO; m = LibreYOLO('LibreYOLO9t.pt'); r = m('https://raw.githubusercontent.com/LibreYOLO/libreyolo/release/libreyolo/assets/parkour.jpg'); print(len(r), 'detections')"

# === FAST PATH (only if the user already has `uv` installed) ===============
# Replaces steps 2-5 with a much faster resolver. Skip if uv is not present.
# Do NOT install uv just for this; pip is already fine.
#   uv venv
#   source .venv/bin/activate           # or .venv\Scripts\Activate.ps1 on Windows
#   uv pip install -e .

# === GPU NOTES =============================================================
# Step 5 installs the default PyTorch wheel from PyPI:
#   - Linux:   CUDA 12.x build (works with NVIDIA GPU out of the box)
#   - macOS:   CPU + MPS (Apple Silicon GPU works automatically)
#   - Windows: CPU only by default
# Windows + NVIDIA GPU: install a CUDA torch wheel BEFORE step 5:
#   pip install --index-url https://download.pytorch.org/whl/cu121 torch torchvision
# Hackathon-safe default: the CPU build is fine for small images and YOLO9t.

# === OPTIONAL EXTRAS (install only if your project needs them) =============
# pip install -e ".[onnx]"        # ONNX export + ONNX Runtime inference
# pip install -e ".[rfdetr]"      # RF-DETR transformer flagship
# pip install -e ".[tensorrt]"    # NVIDIA TensorRT (Linux/Windows + CUDA)
# pip install -e ".[openvino]"    # Intel CPU/GPU/VPU acceleration
# pip install -e ".[ncnn]"        # Lightweight CPU/Vulkan deployment

# === IF THINGS BREAK =======================================================
# Windows: "running scripts is disabled on this system" when activating venv:
#   Set-ExecutionPolicy -Scope CurrentUser RemoteSigned   (run once, then retry)
# macOS / Linux: "python: command not found":
#   use  python3 -m venv .venv  instead, and  python3 -m pip ... for step 4
# torch wheel mismatch / ImportError:
#   find the right wheel at https://pytorch.org/get-started/locally/
# Anything else: ask the user to paste the full error, then debug.
Click anywhere inside the box to select all, or use the Copy button.
Example 1: Object detection
A minimal end-to-end detection example with the lightweight YOLO9t flagship. Once LibreYOLO is installed, paste this into a Python file or a notebook to confirm everything works and to see the shape of the results object.
from libreyolo import LibreYOLO, SAMPLE_IMAGE

# One factory, any architecture. Auto-detects family, size, and classes.
model = LibreYOLO("LibreYOLO9t.pt")

# Accepts file paths, URLs, PIL, NumPy, tensors, or raw bytes.
result = model(SAMPLE_IMAGE, save=True)

print(result.boxes.xyxy)        # (N, 4) tensor of bounding boxes
print(result.boxes.conf)        # (N,) confidence scores
print(result.names[int(result.boxes.cls[0].item())])  # first class name
print(result.saved_path)        # where the annotated image was saved
Click anywhere inside the box to select all, or use the Copy button.
Example 2: Segmentation with RF-DETR
Instance segmentation with the RF-DETR transformer flagship. The -seg suffix tells the factory to load the segmentation head, so you get bounding boxes plus per-instance binary masks from the same call.
# Required once for RF-DETR examples
pip install -e ".[rfdetr]"
Click anywhere inside the box to select all, or use the Copy button.
from libreyolo import LibreYOLO, SAMPLE_IMAGE

# RF-DETR is the transformer flagship. The "-seg" suffix tells the factory
# to load the segmentation head. Same call shape as detection.
model = LibreYOLO("LibreRFDETRs-seg.pt")

# save=True draws boxes plus translucent mask overlays on top of the image.
result = model(SAMPLE_IMAGE, save=True)

# Boxes still work the same as in detection
print(result.boxes.xyxy)            # (N, 4) bounding boxes
print(result.boxes.cls)             # (N,) class IDs

# Masks are the new bit
print(result.masks.data.shape)      # (N, H, W) binary masks at image resolution
print(result.masks.xy[0].shape)     # polygon contour for the first instance
print(result.saved_path)            # annotated output path
Click anywhere inside the box to select all, or use the Copy button.
Example 3: Human keypoints
Human pose estimation with YOLO-NAS pose. The -pose suffix loads the keypoint head, returning person boxes plus 17 COCO keypoints for each detected person.
from libreyolo import LibreYOLO, SAMPLE_IMAGE

# YOLO-NAS pose predicts one person box plus 17 COCO keypoints per person.
model = LibreYOLO("LibreYOLONASs-pose.pt")
result = model(SAMPLE_IMAGE, save=True)

print(result.boxes.xyxy)             # (N, 4) person boxes
print(result.keypoints.xy.shape)     # (N, 17, 2) pixel coordinates
print(result.keypoints.conf.shape)   # (N, 17) keypoint confidence
if len(result):
    print(result.keypoints.xy[0, 0])  # first person's nose keypoint
print(result.saved_path)             # annotated output path
Click anywhere inside the box to select all, or use the Copy button.
Example 4: Video inference
Run the same LibreYOLO call on a video. Swap one model line to do detection, segmentation, or keypoints; RF-DETR segmentation still needs the rfdetr extra from Example 2.
from libreyolo import LibreYOLO

# Pick one model:
model = LibreYOLO("LibreYOLO9t.pt")          # detection
# model = LibreYOLO("LibreRFDETRs-seg.pt")   # segmentation
# model = LibreYOLO("LibreYOLONASs-pose.pt") # keypoints

for frame in model("clip.mp4", stream=True, save=True):
    print(frame.frame_idx, len(frame))
Click anywhere inside the box to select all, or use the Copy button.
Example 5: Object tracking
ByteTrack adds stable IDs across video frames. This is the fastest path from detection to people counting, sports clips, traffic analysis, or anything that needs to know whether the same object is still on screen.
pip install libreyolo[tracking]
Click anywhere inside the box to select all, or use the Copy button.
from libreyolo import LibreYOLO

model = LibreYOLO("LibreYOLO9t.pt")

for result in model.track(
    "clip.mp4",
    track_conf=0.25,
    iou=0.45,
    save=True,      # writes runs/track/<video_stem>.mp4 by default
    vid_stride=1,
):
    print(result.frame_idx, result.track_id)
Click anywhere inside the box to select all, or use the Copy button.