Cursor Madrid
Hackathon 3
Jalur LibreYOLO


Selamat datang, para hacker. Baca penjelasan tentang LibreYOLO, ikuti tutorial setup, salin contoh, lalu mulai membangun.
Apa itu LibreYOLO
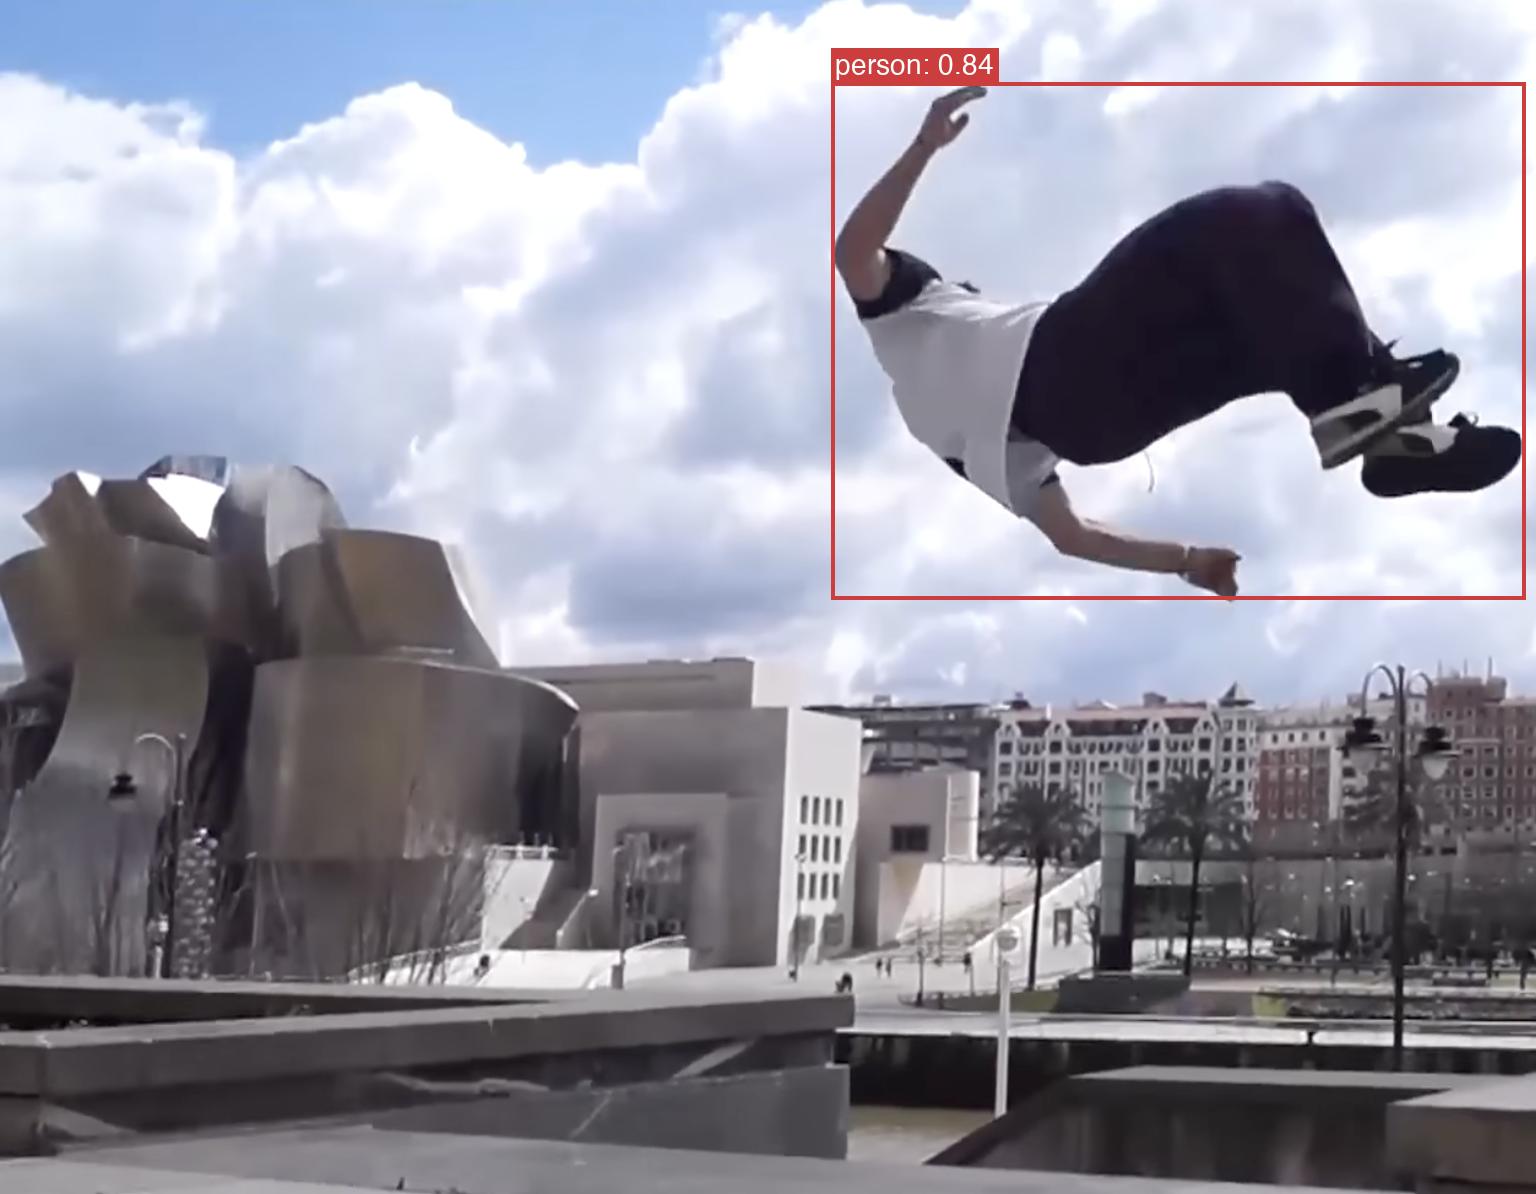
LibreYOLO adalah mesin modern berlisensi MIT 100% untuk melatih dan menerapkan deteksi objek tercanggih. Proyek ini hadir agar YOLO kembali dapat diakses, seperti yang selalu diniatkan para pembuatnya.
Tutorial setup
Tempel prompt di bawah ke Cursor. Prompt ini memandu agen untuk memasang LibreYOLO dari sumber dan memverifikasi instalasinya. Dapat digunakan di Windows, macOS, dan Linux.
# Install LibreYOLO (Cursor Hackathon, LibreYOLO Track)
#
# Your job: get LibreYOLO installed from source on the user's machine and
# verify it imports. The user is on Windows, macOS, or Linux. Adapt the
# venv activation line to match. Everything else is identical across OSes.
#
# Prereqs the user must already have:
#   - Python 3.10 or newer  (check: python --version  or  python3 --version)
#   - git
# If either is missing, stop and tell the user. Do not silently install.
#
# If LibreYOLO is already installed and importable in the current environment,
# skip the install steps and jump straight to VERIFY.

# 1. Clone the dev branch (we will move to main later)
git clone -b dev https://github.com/LibreYOLO/libreyolo.git
cd libreyolo

# 2. Create a virtual environment (stdlib only, no extra tools required)
python -m venv .venv

# 3. Activate it
# macOS / Linux:
source .venv/bin/activate
# Windows PowerShell (run instead of the line above):
# .venv\Scripts\Activate.ps1
# Windows cmd.exe:
# .venv\Scripts\activate.bat

# 4. Upgrade pip (avoids resolver bugs on older Python installs)
python -m pip install --upgrade pip

# 5. Install LibreYOLO in editable mode
pip install -e .

# 6. VERIFY (should print: LibreYOLO ready)
python -c "from libreyolo import LibreYOLO; print('LibreYOLO ready')"

# OPTIONAL: smoke test on a real image (downloads small weights on first run)
python -c "from libreyolo import LibreYOLO; m = LibreYOLO('LibreYOLO9t.pt'); r = m('https://raw.githubusercontent.com/LibreYOLO/libreyolo/release/libreyolo/assets/parkour.jpg'); print(len(r), 'detections')"

# === FAST PATH (only if the user already has `uv` installed) ===============
# Replaces steps 2-5 with a much faster resolver. Skip if uv is not present.
# Do NOT install uv just for this; pip is already fine.
#   uv venv
#   source .venv/bin/activate           # or .venv\Scripts\Activate.ps1 on Windows
#   uv pip install -e .

# === GPU NOTES =============================================================
# Step 5 installs the default PyTorch wheel from PyPI:
#   - Linux:   CUDA 12.x build (works with NVIDIA GPU out of the box)
#   - macOS:   CPU + MPS (Apple Silicon GPU works automatically)
#   - Windows: CPU only by default
# Windows + NVIDIA GPU: install a CUDA torch wheel BEFORE step 5:
#   pip install --index-url https://download.pytorch.org/whl/cu121 torch torchvision
# Hackathon-safe default: the CPU build is fine for small images and YOLO9t.

# === OPTIONAL EXTRAS (install only if your project needs them) =============
# pip install -e ".[onnx]"        # ONNX export + ONNX Runtime inference
# pip install -e ".[rfdetr]"      # RF-DETR transformer flagship
# pip install -e ".[tensorrt]"    # NVIDIA TensorRT (Linux/Windows + CUDA)
# pip install -e ".[openvino]"    # Intel CPU/GPU/VPU acceleration
# pip install -e ".[ncnn]"        # Lightweight CPU/Vulkan deployment

# === IF THINGS BREAK =======================================================
# Windows: "running scripts is disabled on this system" when activating venv:
#   Set-ExecutionPolicy -Scope CurrentUser RemoteSigned   (run once, then retry)
# macOS / Linux: "python: command not found":
#   use  python3 -m venv .venv  instead, and  python3 -m pip ... for step 4
# torch wheel mismatch / ImportError:
#   find the right wheel at https://pytorch.org/get-started/locally/
# Anything else: ask the user to paste the full error, then debug.
Klik di mana saja di dalam kotak untuk memilih semuanya, atau gunakan tombol Salin.
Contoh 1: Deteksi objek
Contoh deteksi end-to-end minimal dengan model unggulan YOLO9t yang ringan. Setelah LibreYOLO terpasang, tempel kode ini ke berkas Python atau notebook untuk memastikan semuanya berfungsi dan melihat struktur objek hasil.
from libreyolo import LibreYOLO, SAMPLE_IMAGE

# One factory, any architecture. Auto-detects family, size, and classes.
model = LibreYOLO("LibreYOLO9t.pt")

# Accepts file paths, URLs, PIL, NumPy, tensors, or raw bytes.
result = model(SAMPLE_IMAGE, save=True)

print(result.boxes.xyxy)        # (N, 4) tensor of bounding boxes
print(result.boxes.conf)        # (N,) confidence scores
print(result.names[int(result.boxes.cls[0].item())])  # first class name
print(result.saved_path)        # where the annotated image was saved
Klik di mana saja di dalam kotak untuk memilih semuanya, atau gunakan tombol Salin.
Contoh 2: Segmentasi dengan RF-DETR
Segmentasi instance dengan model unggulan transformer RF-DETR. Sufiks -seg memberi tahu factory agar memuat head segmentasi, sehingga satu pemanggilan menghasilkan bounding box beserta mask biner per instance.
# Required once for RF-DETR examples
pip install -e ".[rfdetr]"
Klik di mana saja di dalam kotak untuk memilih semuanya, atau gunakan tombol Salin.
from libreyolo import LibreYOLO, SAMPLE_IMAGE

# RF-DETR is the transformer flagship. The "-seg" suffix tells the factory
# to load the segmentation head. Same call shape as detection.
model = LibreYOLO("LibreRFDETRs-seg.pt")

# save=True draws boxes plus translucent mask overlays on top of the image.
result = model(SAMPLE_IMAGE, save=True)

# Boxes still work the same as in detection
print(result.boxes.xyxy)            # (N, 4) bounding boxes
print(result.boxes.cls)             # (N,) class IDs

# Masks are the new bit
print(result.masks.data.shape)      # (N, H, W) binary masks at image resolution
print(result.masks.xy[0].shape)     # polygon contour for the first instance
print(result.saved_path)            # annotated output path
Klik di mana saja di dalam kotak untuk memilih semuanya, atau gunakan tombol Salin.
Contoh 3: Keypoint manusia
Estimasi pose manusia dengan YOLO-NAS pose. Sufiks -pose memuat head keypoint dan mengembalikan kotak orang beserta 17 keypoint COCO untuk setiap orang yang terdeteksi.
from libreyolo import LibreYOLO, SAMPLE_IMAGE

# YOLO-NAS pose predicts one person box plus 17 COCO keypoints per person.
model = LibreYOLO("LibreYOLONASs-pose.pt")
result = model(SAMPLE_IMAGE, save=True)

print(result.boxes.xyxy)             # (N, 4) person boxes
print(result.keypoints.xy.shape)     # (N, 17, 2) pixel coordinates
print(result.keypoints.conf.shape)   # (N, 17) keypoint confidence
if len(result):
    print(result.keypoints.xy[0, 0])  # first person's nose keypoint
print(result.saved_path)             # annotated output path
Klik di mana saja di dalam kotak untuk memilih semuanya, atau gunakan tombol Salin.
Contoh 4: Inferensi video
Jalankan pemanggilan LibreYOLO yang sama pada video. Ganti satu baris model untuk melakukan deteksi, segmentasi, atau keypoint. Segmentasi RF-DETR tetap memerlukan paket tambahan rfdetr dari Contoh 2.
from libreyolo import LibreYOLO

# Pick one model:
model = LibreYOLO("LibreYOLO9t.pt")          # detection
# model = LibreYOLO("LibreRFDETRs-seg.pt")   # segmentation
# model = LibreYOLO("LibreYOLONASs-pose.pt") # keypoints

for frame in model("clip.mp4", stream=True, save=True):
    print(frame.frame_idx, len(frame))
Klik di mana saja di dalam kotak untuk memilih semuanya, atau gunakan tombol Salin.
Contoh 5: Pelacakan objek
ByteTrack menambahkan ID yang stabil di sepanjang frame video. Ini adalah jalur tercepat dari deteksi ke penghitungan orang, klip olahraga, analisis lalu lintas, atau kebutuhan lain yang harus mengetahui apakah objek yang sama masih terlihat.
pip install libreyolo[tracking]
Klik di mana saja di dalam kotak untuk memilih semuanya, atau gunakan tombol Salin.
from libreyolo import LibreYOLO

model = LibreYOLO("LibreYOLO9t.pt")

for result in model.track(
    "clip.mp4",
    track_conf=0.25,
    iou=0.45,
    save=True,      # writes runs/track/<video_stem>.mp4 by default
    vid_stride=1,
):
    print(result.frame_idx, result.track_id)
Klik di mana saja di dalam kotak untuk memilih semuanya, atau gunakan tombol Salin.