Cursor Madrid
Hackathon 3
Ścieżka LibreYOLO


Witajcie, hakerzy. Przeczytajcie, czym jest LibreYOLO, wykonajcie samouczek konfiguracji, skopiujcie przykład i zacznijcie tworzyć.
Czym jest LibreYOLO
LibreYOLO to nowoczesny silnik na licencji MIT do trenowania i wdrażania najnowocześniejszych modeli detekcji obiektów. Powstał, aby YOLO znów było dostępne dla każdego, zgodnie z pierwotnym zamysłem twórców.
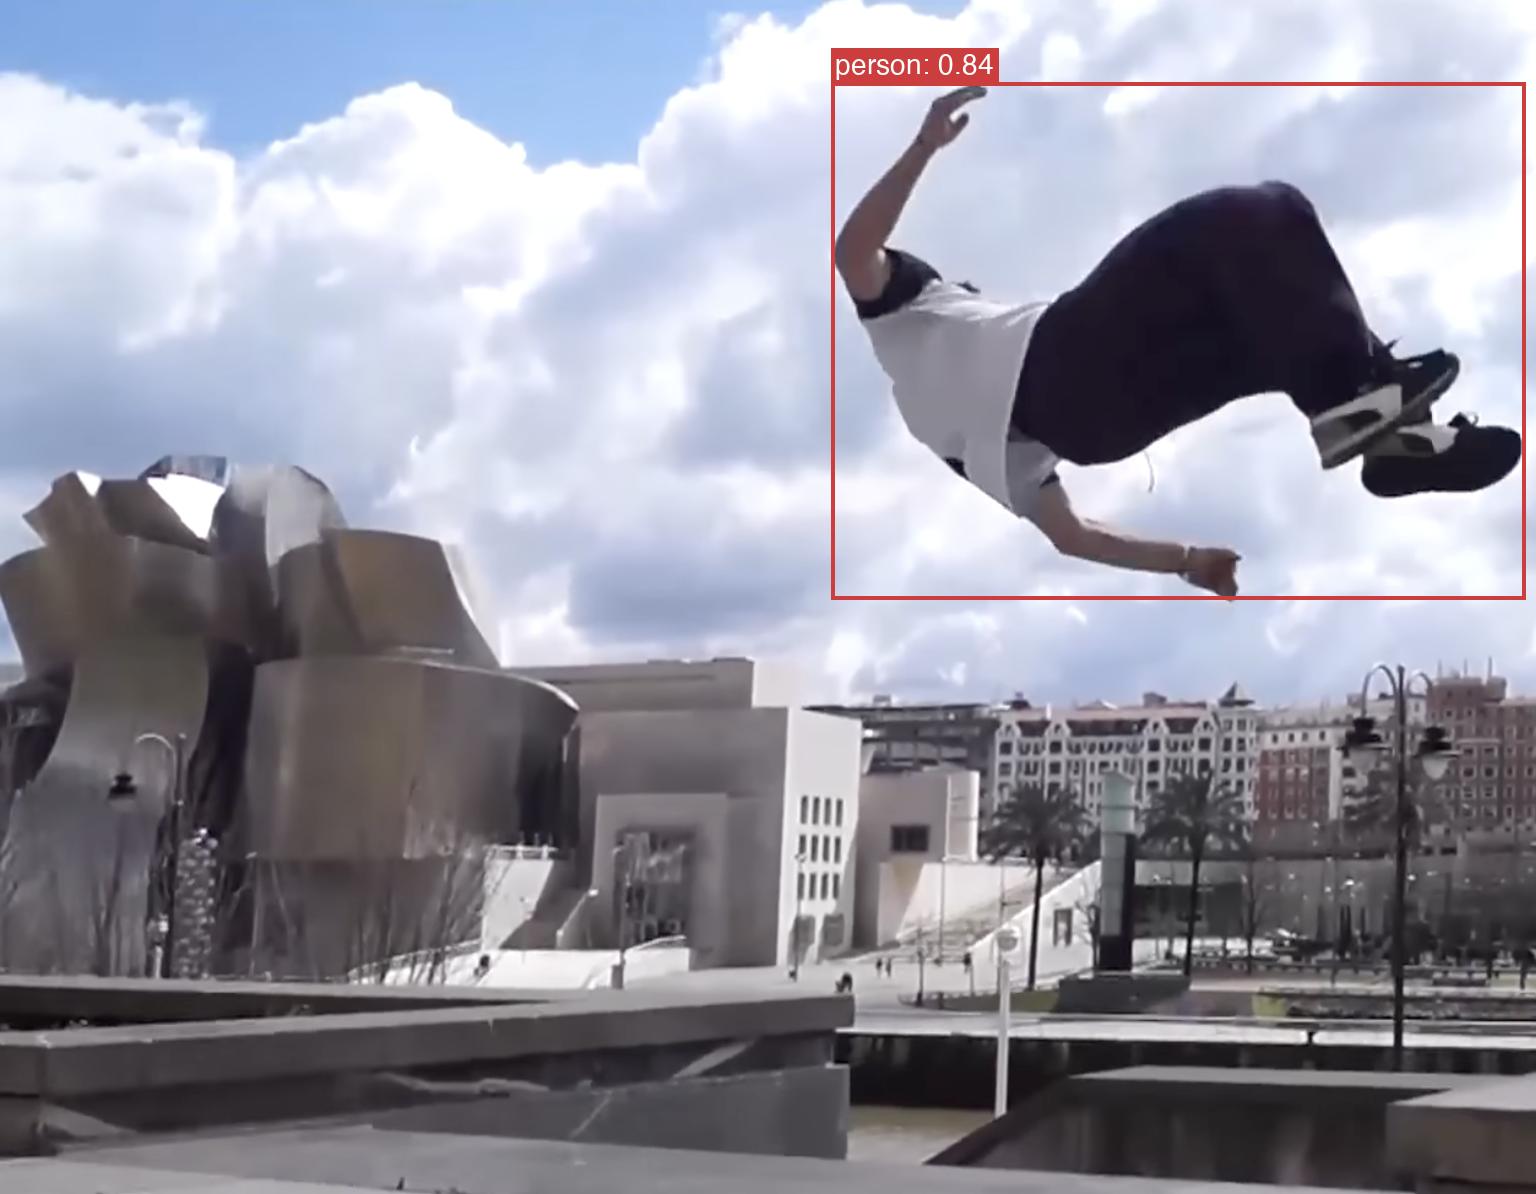
Samouczek konfiguracji
Wklej poniższy prompt do Cursor. Poprowadzi on agenta przez instalację LibreYOLO ze źródeł i weryfikację instalacji. Działa w systemach Windows, macOS i Linux.
# Install LibreYOLO (Cursor Hackathon, LibreYOLO Track)
#
# Your job: get LibreYOLO installed from source on the user's machine and
# verify it imports. The user is on Windows, macOS, or Linux. Adapt the
# venv activation line to match. Everything else is identical across OSes.
#
# Prereqs the user must already have:
#   - Python 3.10 or newer  (check: python --version  or  python3 --version)
#   - git
# If either is missing, stop and tell the user. Do not silently install.
#
# If LibreYOLO is already installed and importable in the current environment,
# skip the install steps and jump straight to VERIFY.

# 1. Clone the dev branch (we will move to main later)
git clone -b dev https://github.com/LibreYOLO/libreyolo.git
cd libreyolo

# 2. Create a virtual environment (stdlib only, no extra tools required)
python -m venv .venv

# 3. Activate it
# macOS / Linux:
source .venv/bin/activate
# Windows PowerShell (run instead of the line above):
# .venv\Scripts\Activate.ps1
# Windows cmd.exe:
# .venv\Scripts\activate.bat

# 4. Upgrade pip (avoids resolver bugs on older Python installs)
python -m pip install --upgrade pip

# 5. Install LibreYOLO in editable mode
pip install -e .

# 6. VERIFY (should print: LibreYOLO ready)
python -c "from libreyolo import LibreYOLO; print('LibreYOLO ready')"

# OPTIONAL: smoke test on a real image (downloads small weights on first run)
python -c "from libreyolo import LibreYOLO; m = LibreYOLO('LibreYOLO9t.pt'); r = m('https://raw.githubusercontent.com/LibreYOLO/libreyolo/release/libreyolo/assets/parkour.jpg'); print(len(r), 'detections')"

# === FAST PATH (only if the user already has `uv` installed) ===============
# Replaces steps 2-5 with a much faster resolver. Skip if uv is not present.
# Do NOT install uv just for this; pip is already fine.
#   uv venv
#   source .venv/bin/activate           # or .venv\Scripts\Activate.ps1 on Windows
#   uv pip install -e .

# === GPU NOTES =============================================================
# Step 5 installs the default PyTorch wheel from PyPI:
#   - Linux:   CUDA 12.x build (works with NVIDIA GPU out of the box)
#   - macOS:   CPU + MPS (Apple Silicon GPU works automatically)
#   - Windows: CPU only by default
# Windows + NVIDIA GPU: install a CUDA torch wheel BEFORE step 5:
#   pip install --index-url https://download.pytorch.org/whl/cu121 torch torchvision
# Hackathon-safe default: the CPU build is fine for small images and YOLO9t.

# === OPTIONAL EXTRAS (install only if your project needs them) =============
# pip install -e ".[onnx]"        # ONNX export + ONNX Runtime inference
# pip install -e ".[rfdetr]"      # RF-DETR transformer flagship
# pip install -e ".[tensorrt]"    # NVIDIA TensorRT (Linux/Windows + CUDA)
# pip install -e ".[openvino]"    # Intel CPU/GPU/VPU acceleration
# pip install -e ".[ncnn]"        # Lightweight CPU/Vulkan deployment

# === IF THINGS BREAK =======================================================
# Windows: "running scripts is disabled on this system" when activating venv:
#   Set-ExecutionPolicy -Scope CurrentUser RemoteSigned   (run once, then retry)
# macOS / Linux: "python: command not found":
#   use  python3 -m venv .venv  instead, and  python3 -m pip ... for step 4
# torch wheel mismatch / ImportError:
#   find the right wheel at https://pytorch.org/get-started/locally/
# Anything else: ask the user to paste the full error, then debug.
Kliknij w dowolnym miejscu pola, aby zaznaczyć całość, lub użyj przycisku Kopiuj.
Przykład 1: detekcja obiektów
Minimalny, kompletny przykład detekcji z lekkim, flagowym modelem YOLO9t. Po zainstalowaniu LibreYOLO wklej ten kod do pliku Pythona lub notatnika, aby sprawdzić, czy wszystko działa, i zobaczyć strukturę obiektu wyników.
from libreyolo import LibreYOLO, SAMPLE_IMAGE

# One factory, any architecture. Auto-detects family, size, and classes.
model = LibreYOLO("LibreYOLO9t.pt")

# Accepts file paths, URLs, PIL, NumPy, tensors, or raw bytes.
result = model(SAMPLE_IMAGE, save=True)

print(result.boxes.xyxy)        # (N, 4) tensor of bounding boxes
print(result.boxes.conf)        # (N,) confidence scores
print(result.names[int(result.boxes.cls[0].item())])  # first class name
print(result.saved_path)        # where the annotated image was saved
Kliknij w dowolnym miejscu pola, aby zaznaczyć całość, lub użyj przycisku Kopiuj.
Przykład 2: segmentacja za pomocą RF-DETR
Segmentacja instancji za pomocą flagowego transformera RF-DETR. Sufiks -seg nakazuje fabryce wczytać głowicę segmentacji, dzięki czemu jedno wywołanie zwraca ramki ograniczające i maski binarne poszczególnych instancji.
# Required once for RF-DETR examples
pip install -e ".[rfdetr]"
Kliknij w dowolnym miejscu pola, aby zaznaczyć całość, lub użyj przycisku Kopiuj.
from libreyolo import LibreYOLO, SAMPLE_IMAGE

# RF-DETR is the transformer flagship. The "-seg" suffix tells the factory
# to load the segmentation head. Same call shape as detection.
model = LibreYOLO("LibreRFDETRs-seg.pt")

# save=True draws boxes plus translucent mask overlays on top of the image.
result = model(SAMPLE_IMAGE, save=True)

# Boxes still work the same as in detection
print(result.boxes.xyxy)            # (N, 4) bounding boxes
print(result.boxes.cls)             # (N,) class IDs

# Masks are the new bit
print(result.masks.data.shape)      # (N, H, W) binary masks at image resolution
print(result.masks.xy[0].shape)     # polygon contour for the first instance
print(result.saved_path)            # annotated output path
Kliknij w dowolnym miejscu pola, aby zaznaczyć całość, lub użyj przycisku Kopiuj.
Przykład 3: punkty kluczowe człowieka
Estymacja pozy człowieka za pomocą YOLO-NAS pose. Sufiks -pose wczytuje głowicę punktów kluczowych i zwraca ramki osób oraz 17 punktów kluczowych COCO dla każdej wykrytej osoby.
from libreyolo import LibreYOLO, SAMPLE_IMAGE

# YOLO-NAS pose predicts one person box plus 17 COCO keypoints per person.
model = LibreYOLO("LibreYOLONASs-pose.pt")
result = model(SAMPLE_IMAGE, save=True)

print(result.boxes.xyxy)             # (N, 4) person boxes
print(result.keypoints.xy.shape)     # (N, 17, 2) pixel coordinates
print(result.keypoints.conf.shape)   # (N, 17) keypoint confidence
if len(result):
    print(result.keypoints.xy[0, 0])  # first person's nose keypoint
print(result.saved_path)             # annotated output path
Kliknij w dowolnym miejscu pola, aby zaznaczyć całość, lub użyj przycisku Kopiuj.
Przykład 4: inferencja wideo
Uruchom to samo wywołanie LibreYOLO na wideo. Zmień jeden wiersz z modelem, aby wykonać detekcję, segmentację lub predykcję punktów kluczowych. Segmentacja RF-DETR nadal wymaga dodatku rfdetr z przykładu 2.
from libreyolo import LibreYOLO

# Pick one model:
model = LibreYOLO("LibreYOLO9t.pt")          # detection
# model = LibreYOLO("LibreRFDETRs-seg.pt")   # segmentation
# model = LibreYOLO("LibreYOLONASs-pose.pt") # keypoints

for frame in model("clip.mp4", stream=True, save=True):
    print(frame.frame_idx, len(frame))
Kliknij w dowolnym miejscu pola, aby zaznaczyć całość, lub użyj przycisku Kopiuj.
Przykład 5: śledzenie obiektów
ByteTrack nadaje stabilne identyfikatory obiektom między klatkami wideo. To najszybsza droga od detekcji do liczenia osób, analizy nagrań sportowych i ruchu drogowego oraz każdego zastosowania, które musi wiedzieć, czy ten sam obiekt nadal znajduje się w kadrze.
pip install libreyolo[tracking]
Kliknij w dowolnym miejscu pola, aby zaznaczyć całość, lub użyj przycisku Kopiuj.
from libreyolo import LibreYOLO

model = LibreYOLO("LibreYOLO9t.pt")

for result in model.track(
    "clip.mp4",
    track_conf=0.25,
    iou=0.45,
    save=True,      # writes runs/track/<video_stem>.mp4 by default
    vid_stride=1,
):
    print(result.frame_idx, result.track_id)
Kliknij w dowolnym miejscu pola, aby zaznaczyć całość, lub użyj przycisku Kopiuj.